Lately, I’ve been really into DIY projects—why not, right? It’s a fantastic way to make the most of our time indoors while still achieving a sense of accomplishment. I believe achieving something every day is essential to staying upbeat and cheerful.
This DIY natural lip balm recipe uses just three pure ingredients, plus a couple more if you decide to add essential oil and tint, making it a total of five. It’s silky, nourishing, and moisturizes your lips, especially after using a DIY Lip Scrub.
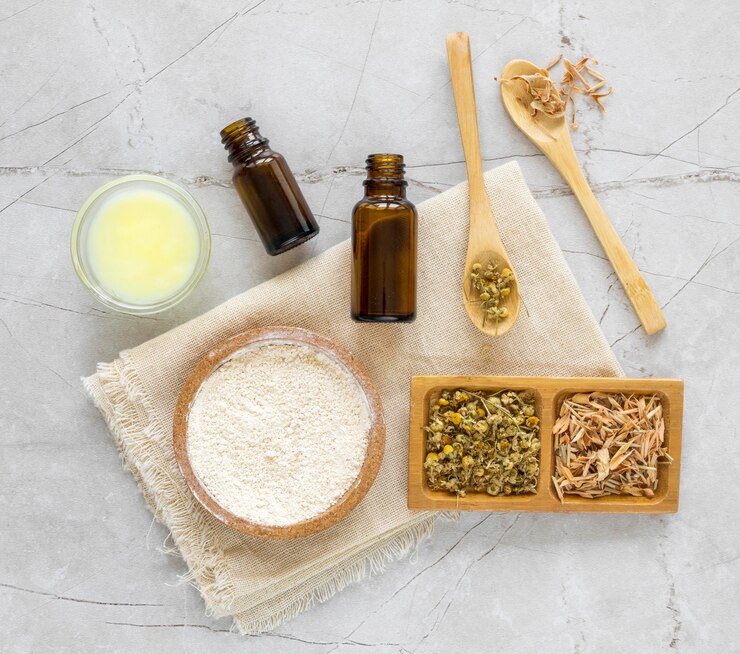
Even if you don’t have organic beeswax at home, you can easily find it on Amazon. I prefer beeswax beads because they melt quicker compared to bars. Cocoa (or cacao) butter is a go-to for me because it smells incredible and is packed with phytonutrients, making it extremely hydrating and great for the skin. It also gives our best-selling body butter its wonderful benefits.
Cocoa butter comes from the cacao bean, which explains its chocolate aroma and luxurious feel. For this lip balm, I love using cocoa butter from Giddy Yoyo—it’s so tempting, you might just want to eat it!
I also add coconut oil for its amazing skin-enhancing qualities, as it’s nourishing, healing, anti-bacterial, and moisturizing. Simple, wholesome ingredients truly make this lip balm shine!
To make it, you’ll need a double boiler, or you can improvise with a large pot of water and a steel bowl on top, like I did. Once the ingredients have melted, add your favorite essential oil—I love peppermint for its soothing effect on dry lips. You can even add a bit of tint using Raspberry or Beet Powder, like the one I used in my Almond Flour Raspberry Cake. It gives the lip balm a beautiful pink hue!
Once everything is melted and your essential oil and tint are mixed in, pour the balm into containers. I use amber glass containers from Amazon. The key is the approximate ratio of 3:1 from beeswax to butter/oil for a smooth texture. Although my measurements are slightly below 3:1, they work perfectly.
The pink-tinted balm is light and works well layered over lipstick, especially those matte ones that can dry out your lips. You can even use this balm on dry cuticles.
Happy DIY-ing, everyone! PS: Don’t forget to check out my DIY Lip Scrub—it’s fantastic for dry hands too! Wondering about adding beet juice for color? Absolutely!
Someone asked where the tint comes from—I’m happy to share the link: https://amzn.to/2K0UT02. It costs about $39, which isn’t cheap, but I bought a bag months ago for a cake icing and have used it many times.
If you’re looking to avoid beeswax, you can try alternatives like carnauba wax, soy wax, or hemp wax. You may need to search a bit for carnauba wax, but Amazon or New Directions are good starting points. Also, if you previously used non-organic beeswax, it might have caused skin reactions due to pesticides or antibiotics in the beeswax.
Wondering how long the lip balm lasts and storage tips? Store it in the fridge if you’re not using it immediately—it keeps fresh up to three months unless it’s peak summer.
Curious about how much tint or raspberry powder to use? Just a sprinkle until you reach your desired color.
If you’re avoiding Amazon, you can look for ingredients elsewhere—it’s all about finding what works for you!
Do you need a preservative to prevent bacteria? Keeping the balm in the fridge is the best way to maintain freshness without preservatives, staying true to a clean beauty product.
Should you use regular coconut oil from your pantry or buy liquid fractionated coconut oil? I’d recommend sticking with regular coconut oil.
Regarding how much water to boil initially, use enough to create a steam bath effect. Any raspberry powder brand recommendations? Hope this helps!